
Balancing your central heating – How To
What is ‘balancing the heating’?
If the radiators in your home or work place aren’t heating up at the same time and to the expected temperature, it’s likely that your heating system needs balancing. Balancing heating means levelling the water flow so that each radiator receives an equal flow – or the flow required to achieve a balanced level of heating throughout your home.
Don’t I just need to bleed my radiators?
Bleeding Radiators
Bleeding a radiator means letting the trapped air out through the valve using radiator key.
If your radiators make a noise when the heating is coming on, or if your radiators have cold patches at the top, then they need bleeding. Read our article on how to bleed your radiators here.
Balancing Radiators
If the radiator some rooms heat up quickly but others take a long time – your radiators need balancing. Balancing your radiators means allowing more water to flow to the colder/ slower to heat radiators and less to the radiators that are currently hotter/ faster to heat.
Bleed then Balance
If you plan to balance your heating, bleed the radiators first to ensure there’s no air in the system. As you’ll need to take a temperature reading from the pipes, you want that to be as accurate as possible.
You will do a better job at balancing your radiators if you have bled them first as you will get a more accurate temperature reading. It’s also possible that bleeding is all that’s needed, and since bleeding your radiators is easy – it makes sense to try that first!
Radiator balancing – the tools you need
- A radiator bleeding key
- A lockshield valve adjuster or adjustable spanner
- Screwdriver
- Digital thermometer or multimeter with a thermometer function
The Steps to Balancing your Radiators
STEP 1 – Turn off the heating
Once all the radiators have been bled, turn off YOUR central heating and wait until all the radiators are completely cold.
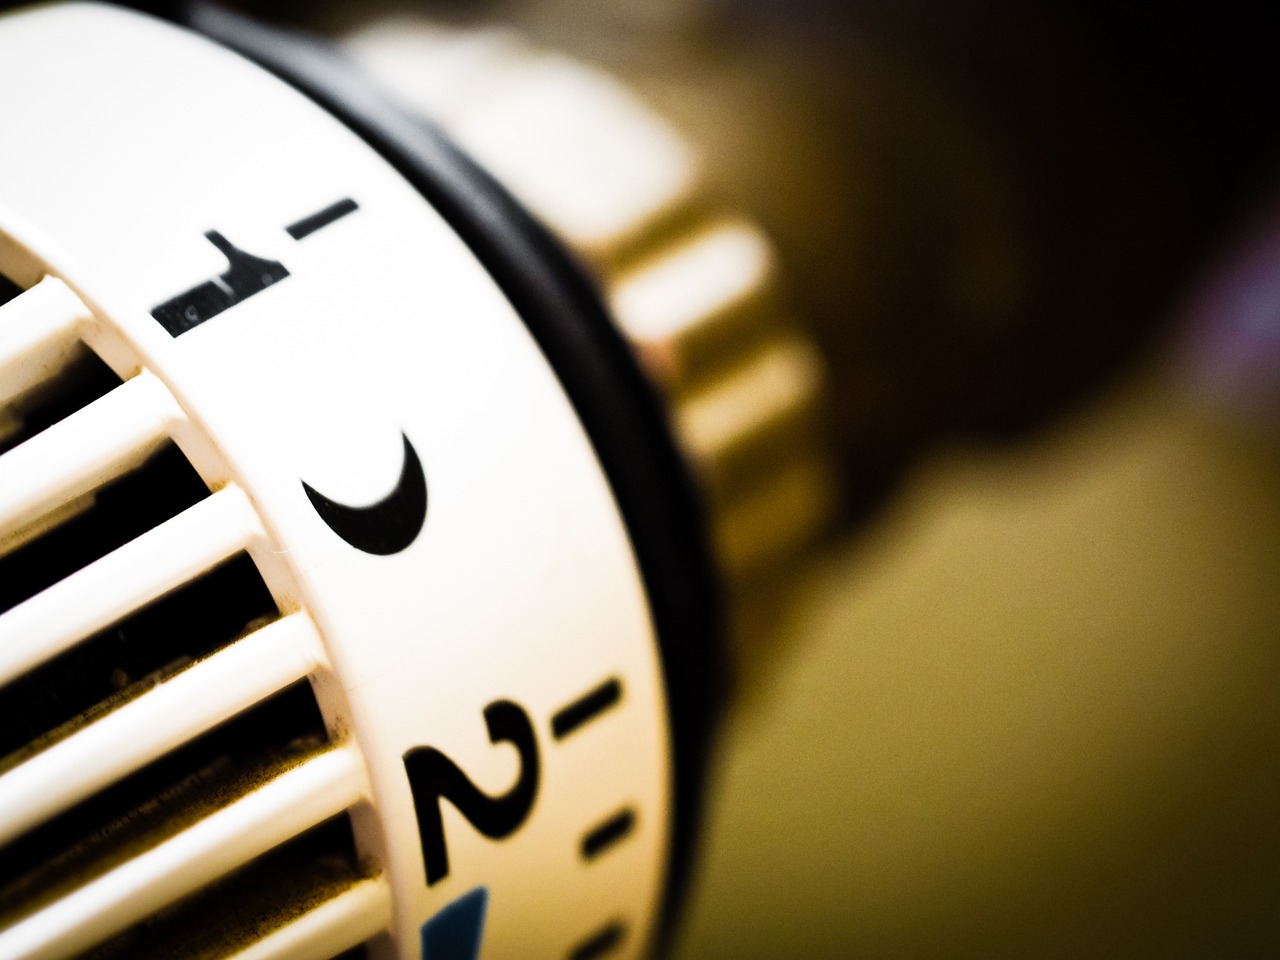
STEP 2 – Familiarise yourself with the radiator valves
Find and familiarise yourself with the lower valves on your radiators.
Lockshield valves usually have a push-on cap, or a cap that is secured with a screw through the top of it. Remove the cap to reveal the valve.
Many homes will have TRVs – Thermostatic Radiator Valves – these are usually found on the opposite side from the lock shield valves. A TRV (Thermostatic Radiator Valve) should always be fitted to the inlet on the radiator and the LSV (Lockshield Valve) to the outlet.
STEP 3 – Open all radiator valves
Open up all of the valves on every radiator in the house by turning them anti-clockwise. Thermostatic valves or older wheel-head valves can be turned quite easily by hand but the lock shield valve will need a plastic adjuster or a spanner to open it.
To confirm – you need to open both the thermostatic AND lockshield valves on every radiator.
STEP 4 – Check how your system heats up
Once all of the valves have been successfully opened, turn the central heating back on and take note of the order in which the radiators heat up.
Radiators nearest the boiler will usually get hot first and, if you have a large home with lots of rooms and radiators, it can be good to have help from someone else in the household to ensure you get the job done properly.
STEP 5 – Turn your heating off, and WAIT
Turn the heating off and wait for the radiators to cool down. You need to do this because when you take the temperature of your radiator and valves you’ll be making tiny adjustments. To get the desired effect, it is best to do this from a ‘cold’ start.
STEP 6 – Turn the heating back on
When the radiators are cool, turn the heating back on and go to the radiator on your list that began to heat up first.
STEP 7 – Turn radiator 1 off and then on again
Turn the lock shield valve clockwise on this radiator until it is closed and then open it again by quarter of a turn.
STEP 8 – Take the temperature of the radiator
When the radiator is nicely warmed up, take a temperature reading at the pipework leading to one of the valves.
STEP 9 – Take the temperature of the pipework
Take a temperature reading at the pipework which leads to the valve on the other side of the radiator, gradually opening the lock shield valve until there is a 12°c difference between that and the temperature reading from Step 7.
IMPORTANT: Before taking each temperature, wait a couple of minutes after each valve adjustment to allow the temperature to change.

STEP 10 – Check each radiator on your list
In radiator order using the list you created in Step 4, repeat Steps 7, 8 & 9.
For each radiator, the Lockshield valve will probably need opening a little further until (in some cases) it is fully open on the last radiator.
Your heating should now be nicely balanced, with an even amount of flow around your home.

Leave a comment
You must be logged in to post a comment.